Showing posts with label writing. Show all posts

Saturday, September 29, 2012

We're Authors!!!

We did it!!! We made it through Lucy Caulkin's Launching Unit - can I get a hallelujah!!!!! We've set up our writer's workshop, established procedures, and we're all on the way to becoming fabulous authors! 
The kids learned all about revising when they picked out their best piece and fixed it up by adding more details and labels to the pictures and adding more words to make their meaning more clear. Then it was time to publish! If you're interested in the Writing Clip Chart, click HERE. 
On Friday we had our author's celebration and shared our fixed-up pieces with our classmates. They were so proud to share their pieces! I don't have pictures of all the kids (I teach writing to two classes and therefore have 36 writing students) but here's just a few sharing their awesome work! To present their work to the class the kids got to sit in my "big chair" as they call it, which they absolutely loved! 


It was a blast and the kids did such a great job being a respectful audience for their peers! 

We've been learning all about apples using my Johnny Appleseed mini-unit and I'll be posting about that sometime next week when we finish it up. 

I'm also already looking ahead to Columbus Day, I have a brand new Columbus Day mini-unit aligned to the Common Core: 

We've also finished up our Third Grade Common Core Checklist, so if you know a second grade teacher in need of that, send them our way! Fourth and Fifth grade will be up soon!


AND, I'm done with all my Reading Running Records, FLKRS and ECHOS! Can I get a holla from my Florida friends?? What a relief!!!

Saturday, September 8, 2012

Our First Few Weeks

We now have 2 1/2 weeks under our belt! The kids are doing awesome and we're starting to settle into a routine! Here's what we've been up to....

Daily 5
Love, Love, love, how this has been going! We've worked our way up to six minutes during read to self and on Monday I will introduce Work on Writing. We learned all about Independence during Read to Self and also how to choose good fit books, with the Two Sister's lesson on shoes. In the beginning my kids were just choosing books out of our community book buckets and then finding a seat around the room. My one rule is that they must choose a new seat each time so that their muscle memory isn't tied to any one spot. They have been practicing the three ways to read a book - read the words, read the pictures, and retell the story. Then our Donors Choose project came in and each kid got their own book box! We filled them with little books we've worked on in class ( from my pack and from Deanna Jump). After our lesson on good fit books the kids went through the book shelf and picked out a book or two that interest them to add to their box. 


Writer's Workshop
Our school uses Lucy Caulkins and we started by talking about writer's and all the things writer's write. Then we made it into an anchor chart to hang up. We read the book "The Best Story" which is an AWESOME book about writing from your heart. That lead to us making our heart maps. The kids drew all the things, people, places they love. This stays in their folder and they can always look back at it if they need inspiration for writing topics. We introduced the writing process and taught that brainstorming ideas like we did on our Heart maps is called Pre-Writing. We gave each child a clip with their name on it and let them stick it on the top of our writing clip chart on "Pre-Writing" as we move through the different stages, the kids will move their clips to stay accountable. I forgot to take pictures of the kids heart maps, but you can see my modeled example here. 

Names
We did several activities to practice our names, including Rainbow names, and graphing the letters in our names. We also made our A my name is Alice portraits. These are all from Deanna Jump's Fun with Names pack. 

Calendar
We've been using Kathleen Pedersen's Calendar pack and I am so in love with it! My projector was stolen over the summer so I am forced to use an old dinosaur overhead projector, but I will still rave about it!! Love how it covers so many math & Social Studies concepts all at once in an efficient way!

Science & Social Studies:
We've been learning about families, and also our five senses. Next week we'll be doing a fun five senses project with popcorn! :)

Math:
We've started numbers 0-5 which fall under Counting and Cardinality on the Common core. I don't have pictures since I don't teach math. (I teach two classes writing and my next door neighbor teaches two classes math)

Common Core:
Our district has officially switched over both Kindergarten and 1st Grade to the new common core standards, as well as a new report card. We were told we now need to have every single standard listed in our grade book with room to document four attempts at mastery. We knew there was no way that was all going to fit into our rinky-dink blue covered grade books they gave us, so my co-team leader and I set about making a grade book that would have space for the whole class, all the standards, and four attempts each. You can check out our Kindergarten pack here:

And our 1st Grade pack here: 

We'll soon be uploading 2nd - 5th grade as well since they'll be switching over in the coming years too. 

We also made a Kindergarten (1st grade on the way!) version that is about twice as long. This one has only one standard per page, and room for five attempts. (4 regular attempts, and an exceeds expectations assignment) You can check that one out HERE.

If your district does common core I would love to hear how you go about recording what is taught when, who master's what, and how it is reflected on your report card!!

Friday, July 27, 2012

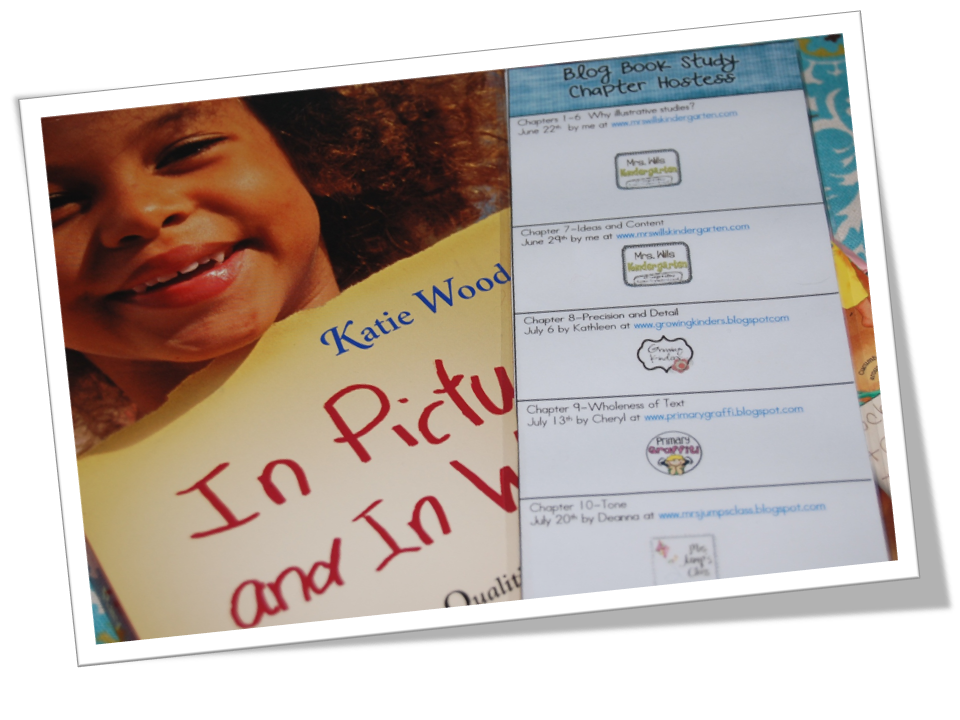
In Pictures & In Words: Chapter 10


This week’s chapter was all about tone. You know…. Don’t use that tone with me! (I know I can’t be the only one that heard that as a child!) In other words, this chapter was full of techniques for how illustrators convey emotion.

Technique 34: Crafting Tone with Background Color
Background color may impact the tone of an illustration.
These pictures are from “Zin! Zin! A violin” and what is interesting is that as the introduce each new instrument, the background color changes, giving you a sense of the emotion each instrument evokes with it’s sound.

Technique 35: Crafting Tone with Size
The size of objects in a picture impacts tone.
This picture is from “The Paper Bag Princess” which I’ve talked about before. You really get the feeling that the dragon is large and intimidating. It gives you the feeling that Elizabeth not even as large as his head, but also gives you the impression that he is so large the rest of him can’t fit on the page!

Technique 35: Crafting Tone with Space
The Physical distance between animals, people, and objects affects tone.
The space in this picture from “Tacky the Penguin” clearly gives you the feeling that Tacky is VERY different from his friends.
Likewise, this picture from “Alexander and the No Good, Very Bad Day” leaves you feeling that Alexander is quite isolated from his brothers.

Technique 37: Crafting Tone with Shape and Texture
Pictures drawn with sharp, pointed lines, edges, and angles evoke a different response than those drawin with softer, more rounded lines and edges.
This picture is from “Tuff Fluff” Normally, the very large teddy bear would be seen as intimidating (see technique 35) But his rounded edges, and soft stuffing spilling out of the seams leave you feeling that he is a “giant teddy bear” so to speak.... not threatening at all.

Technique 38: Accentuating or Exaggerating Features to Impact Tone
Accentuating or exaggerating a particular feature of an animal, person, or object can affect the tone of the picture.
This is the cover art for the story I just mentioned, “Tuff Fluff” just look at those ears! Gives you the feeling they are going to play a key role in the story doesn’t it?

Technique 39: Using Whimsical Detail to Lighten the Tone
Whimsical detail lightens the tone in illustrations.
I have to go back to Tacky with this one. Just about everything about him is whimsical… the Hawaiian shirt, the cannon balling into the sea in an inner tube instead of diving, his tuna fish sandwiches…
Because let’s face it, this is a story about penguins being hunted by bad guys. Without these whimsical details it might be rather frightening.  

Don’t forget, my Back to School Bash ends tonight at midnight! If you haven’t entered make sure you do for the chance to win a plethora of awesome resources!!

Wednesday, July 25, 2012

In Pictures & In Words: Chapter 9


I had a super hard time with this chapter. 
Isn't this where you study??
I have a very limited supply of books here at home to take pictures from, so this week I’m just going to list some of the books that came to mind for some of the techniques. 

Technique #28:  Crafting and ending that pulls multiple text elements together
 An ending illustration may pull visual elements together from across the text
I immediately thought of Brown Bear, Brown Bear where you meet each character, then at the end see all of them together.

Technique 23:  Keeping Static Details Consistent
The static details of characters, objects, and places are consistent throughout the book.
For this technique I thought of the book Lilly’s Purple Plastic Purse. Her teacher Mr. Slinger has those same great glasses in each picture of him.

Technique #25: Building Meaning from One Idea to the Next
Illustrations may be connected so that significant meaning builds across them, the details in one picture suggesting what might be pictured in later illustrations
This technique brought to mind a favorite Valentine’s read of mine “The Day it Rained Hearts.” In the beginning of the book you see the little girl collecting hearts and turning them into very different, quirky valentines. One is painted in a green mosaic, one has holes all over it, one has a cotton ball in the middle of it. Later in the book you find out that each valentine has been created to match one of her animal friends. Turtle’s valentine is painted to look like his shell. You saw this earlier in the book, but you don’t connect that it’s a turtle shell till you see turtle with the valentine. Same with Rabbit’s cotton ball tail valentine and Mouse’s cheese-hole valentine.

That’s all I’ve got because this was HARD!

Sunday, July 8, 2012

In Pictures and In Words: Chapter 8


So I packed “In Pictures and In Words” in my beach bag Friday and had 100% intent to read it. Somehow between this

and this

It just didn’t happen. So Now I’m playing catch up!

Chapter 8 talks about Precision and Detail and I’m going to share just a few examples of the different techniques that I found in my stash of books I have here at home. First I had to pull “In Pictures…” out of my beach bag, which almost made me consider putting this off further to go back to the beach, but I remained strong.

Technique #13 Crafting Details of Expression and Gesture
“ Facial expressions and gestures are meaningful details”
This illustration is from “Blueberries for Sal” a book I talked about last week. 


I just love the expressions. Look at the mom’s face when she realizes it’s not Sal behind her, but a bear cub!

And look at Mama Bear’s face when she realizes it’s not her cub behind her! Can’t you just feel the shock of it?


Technique #14 Crafting Physical Details of Characters
“ The physical details of characters – clothing, hairstyles, adornments, are very revealing.
This illustration is from “Casey at the Bat.”


Look at those freckles! The flaming red hair! The flushed look all over his face, hands, elbows!


Technique #17 Showing the effects of weather on a scene
“ Details can show the effect of weather on a scene.”
I love this two page spread from “Madeline” that shows Paris in two very different states of weather. 


On the rainy side you see dark, dreary Paris, people with umbrellas running to and fro, puddles, rain. On the sunny side you see bright, fun Paris, people walking leisurely through the park, boats floating in the pond.


Technique #18 Crafting details from the world of people.
“Using details from the world of people brings authenticity to the scene”
This picture is also from “Madeline” all the page says is “she was not afraid of mice” nothing about a kitchen. Yet, she is obviously in a kitchen. Look at the details from the world of people – the pots, pans, knives, smoking stove, carving tools, measuring cups…. Anything you would need for cooking in the kitchen is in the scene.


Technique #20 Creating the Illusion of Motion with Detail
“Details can create the illusion of motion”
This picture is from another book from last week “Hurricane”.

See the leaves moving to and fro all over the page? It’s clearly VERY windy, as it would be during a hurricane.


Technique #21 Creating the illusion of sound with details
“ Details can create the illusion of sound”
This picture from “Paul Bunyan” makes me laugh every time. 


Can’t you just hear Babe slurping all that soup?


That’s all I’ve got! I’ll be back tomorrow with another freebie, and my summer bucket list project from last week!