Friends, I have a confession to make. It's nearly February and my room STILL isn't done. It's come a long way from the empty room I moved into, but there's still so much I'm hoping to do once I have more time and money. Before I show you how the room looks now, let's take a look at where I started!
In case you missed my post back in August, here's a look at the room as I inherited it.
The room is big, but it was EMPTY. This was my first time getting to start over with a blank canvas, since the last room I moved into (my first job) had stuff all over the walls, the closet was filled, etc. Now, there are obviously things about the room that can't be changed. Walls are tan, cabinets and shelves are burgundy/brown, and those things just can't be changed. But I had a plan to bring lots of color and lots of fun into the room!
I was so inspired by Maria's room at
Kinder-Craze and I knew i wanted to start with a black and white backdrop and then add lots of fun pops of color. I made this little mood board over the summer, sketched out a floor plan, and started collecting fun, colorful accents to add to the room.
I knew there was no way my room was going to be completely finished by the first day of school (or even meet the teacher) but it needed to be functional and inviting for the kids. The first thing I did was arrange the existing furniture. The tables, carpet, etc. I quickly set up the student tables and hung some of my bright decorations like the pennant flags, birthday balloons and the giant tree.
Next I used some sillhouettes from School Girl Style to add some sweet touches to my cabinets.
I made some quick, no-sew curtains to cover up the long shelves under the windows that would primarily house supplies and otherwise create visual clutter.
I took an old hand-me-down student mailbox center and spray painted new life into it.
I'm used to cubbies, but mailboxes work just fine.
I had my husband put together a reading bench and I used bookshelves to establish our library area. My mom sewed a cushion cover that I put over foam so the kids would have somewhere comfy to read.
It took me FOREVER to organize our classroom library, but it was so worth it!
Then, I set to work tackling the bulletin boards. I hung my calendar and word wall first.
Then I hung some banners and covered the existing bulletin boards with happy cloud paper. I have to confess to you that all the pretty layered borders weren't completely finished until mid-October! They look so nice but they take forever!!
Once the bulletin board were covered the room was looking a lot better - bulletin board paper makes a huge impact! However, there was still a lot of wasted space on the tan walls, so I got to work building three more "fake" bulletin boards. First I hung a big one with chalboard clips to hang student work from, then I created two long, skinny ones to go above my front board and word wall to showcase my alphabet and number line.
_________________________________________________________
Here's what my room looks like today!
It's not done, but we've been living and learning in it for five months now and it's been fully functional. As I take you on a tour around the room, I'll point out the things I hope to have finished before the start of next year.
When my students first walk in my room, they place their folders and reading bags into baskets on the counter to their left. Their mailboxes and dismissal chart are also there to the left immediately after entering.
Following along that wall you run into our listening center, math book storage, and baskets for supplies like extra crayons, scissors, and dry erase markers.
 |
| book boxes - target dollar spot, Pink sign holder - Michaels |
Continuing down that wall is our library. It's divided off from the rest of the room by our reading bench. The library holds my leveled books, theme books, and my students individual reading boxes. It's also home to our book buddies.
 |
| Book Bench - Lakeshore learning, Pillows - Ikea |
 |
| Book Boxes - Really Good Stuff, Lakeshore Learning, Big Lots, Target Dollar Spot, Clifford - Kohls, READ letters - Michaels, Book Box Labels - Kinder Craze, Polka dot carpet - IKEA, Purple Tub - Big Lots, Bench - IKEA, Bench cushion fabric - Hobby Lobby |
Continuing around the room from the library you come to the front of the room where our main white board and carpet are. The front wall is home to our Fundations alphabet, behavior chart, calendar, and classroom rules. I used
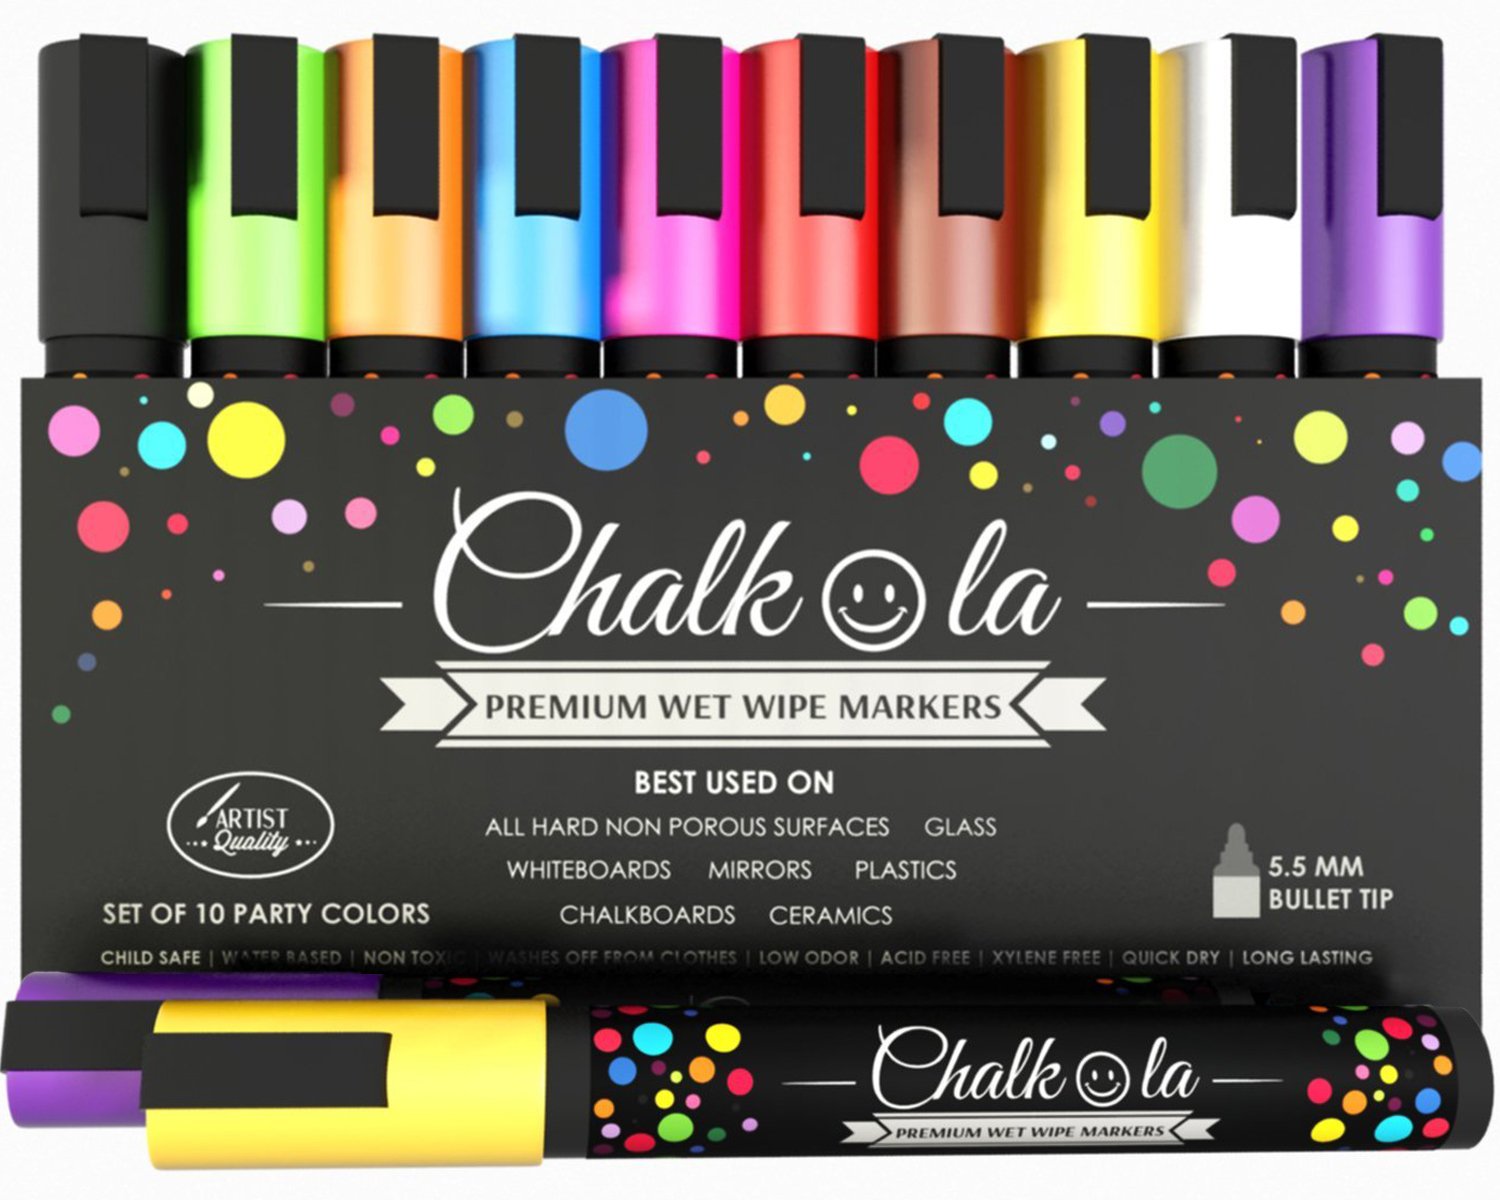
Chalkola chalk markers to do all the chalk writing in my room and they are amazing! They go on nice and smooth, dry quickly, and produce a bright result that always looks great!
On the far side of the front wall (the opposite corner from the door) is my desk area. Immediately in front of my desk is my pocket chart and word work center.
 |
| Pocket chart - Scholastic, Lanterns - Michaels |
and then back behind is my desk. It's your pretty standard set up with a computer, and document camera. I try to keep it relatively clear, but this is what it looks like on any given day. I also have a media cabinet back there with pictures and inspirational quotes sitting on top. It's my happy little corner.
Continuing along the wall opposite of the window is my guided reading area. The giant tree on my wall was made from Maria's
tutorial at Kinder-Craze and it's one of my favorite parts of the room!
Continuing down that wall is my computer center, with the word wall on the board behind it, and our number line up top. All of the word wall cards are mounted onto magnets so they can easily be removed if the kids need them. The door to the far right goes to my next door neighbor's classroom. (As does the door behind my desk)
Turning the corner to the back of the room we have the student work board I created, with my student's backpack hooks under neath. I used
Chalkola chalk markers to write my students names on mini chalkboards clothespins, and I LOVE the final look!
The middle of the back wall is an alcove. My bathroom, storage cabinets, writing center, center board, Ipad Center and Magnet Center are back there. The bright lanterns that hang from the ceiling are one of my other favorite parts of the room.
 |
| Chalkboard decal - Target, Chalk pen - Chalkola |
The chairs at my writing center are ADORABLE - for a jungle themed room. But they are first on my list of things to finish up. I want to paint them the same bright, happy colors as my rule poster frames.
You can see that I have some open storage up on top of the cabinets. I'd like to replace all of those crates with black crates (or attempt to spray paint mine black) for uniformity and less visual clutter.
One of my other projects to be completed is finding some kind of way to jazz up my filing cabinets. I'm pretty sure spray painting is out of the question but I'm thinking maybe magnet border would do the trick. Up on top of them is our class compliments board.
Behind the filing cabinet is our garbage can and lunch box shelf, which brings you all the way back around to the door!
And there you have it! I hope you enjoyed your tour! I'm looking forward to completing some of the projects I mentioned, and having my room ready to go in August next year.
A HUGE thank you to
Chalkola for sending me their chalk pens to complete my room. They added the sweetest little touches all over the room! They can even be used on windows! Always remember to test a small area first, and they should only be used on a Non-Porous surface. If you'd like to get your own Chalkola markers you can use code CHALK20A to receive 20% off.